The blank wall in our kitchen has been asking for a mural for a while now. I was a bit hesitant because the kitchen is our most used room and I wanted to make sure I would love whatever design I decided to paint. Once I finished painting the living room and the back entryway, I was ready to jump in and paint the kitchen. My original thought process was to do something sunset-like because of the birds on the wall. I mulled about a half circle, full circle with a gradient, striped circle, etc.
I saw a picture of Abbey's office on Instagram (@abbeymadethis) and it was the perfect inspiration. She has since painted over it, but it was a red/pinkish circle with some lines overlapping it. I decided I wanted the lines on the opposite side of the circle and to make them a bit shorter.I just decided to wing it one night. I drew a big circle (with a little string) then eyeballed where I wanted the lines (I did check the lines with a level). Personally I was trying to keep this low budget so I used what paint I had on hand. For the pink, I had some leftover from an old patio table I painted in 2012. I mixed a little bit of white in to tone it down. For the stripes, I mixed a tiny bit of pink, yellow that was left in our house (I believe it was used for the garage) and a couple of drops of black acrylic paint.This was such a quick/easy DIY that made a huge impact. Our kitchen is not the most appealing room, but this mural really brightened it up over the last year. I spent a lot of time working from the kitchen table and the pop of color made staring at these cracked kitchen walls so much more enjoyable. We've had the mural for about a year
Showing posts with label Fixer Upper. Show all posts
10.01.2021
3.21.2019
Dining Room : Slow Upgrades
There are a lot of changes since I updated our dining room progress a year and a half ago.
Now let me tell you about one of my favorite things about the town we live in. There is an exclusive-to-our-community Facebook group called Freebox where people list whatever items they want to give away for free. When you see something you want, you claim it and pick it up from the person's porch. It's a great way to declutter without leaving your house and an even greater way to get things you want/need without having to pay for it. I saw this chandelier (similar to what I'd been looking at) go up on Freebox, but it was already claimed by a friend of mine. I quickly commented I'd be second in line if she changed her mind. A couple days later, she messaged me to let me know that her husband wasn't feeling it and that I could have it. After switching out the lights, I listed our old chandelier and it was snagged within minutes. It made me happy to see our new lighting (that we got for free!) and know that our old one was going to a home that would appreciate it.
Another new addition to our dining room is our sideboard/buffet. I always call them sideboards, but after a quick google, it's called a sideboard if it's in your living room and a buffet if it's in your dining room. I was using large wire shelving from our old house for all craft and overflow storage. It was not the prettiest solution and was getting to be difficult as Ida was more mobile. I was looking for any and all buffet solutions, and we lucked out with our old friend Craigslist. Ben is our Craigslist guru and will always look up options for me, reach out to seller, negotiate prices, and generally do the pick up. He sent me about 10 options that I was able to quickly narrow down. My favorite piece was already sold so I landed on this one. There was actually an identical model that was painted also for sale for slightly more. This one is slightly damaged, but we were able to work out a great price with the seller. Ben picked it up and reported back to me that she had an amazing old house that she did a lot of work on herself. She had tons of pieces in her house that she purchased on Craigslist and was only selling this one because it was her mother's and she had no room. He told me it was a meet up that I probably would have loved.
We got the sideboard in our house and it fit so perfectly in it's spot. The finish matches the dining set that I already own and it has lots of storage. I love when things work out perfectly like that... especially when I fail to measure dimensions.
I had one project on my list during Winter Break and it was to paint this dining room. Golden beige is not my favorite color, so I was itching to get this space painted. We picked out paint one day then Ben had to go to work. The girls were begging for a lazy day so I put on some movies and spent the rest of the day priming and painting solo. Ben was able to come home for just enough time to cheer me on and tell me to keep up the good work then headed back to work.
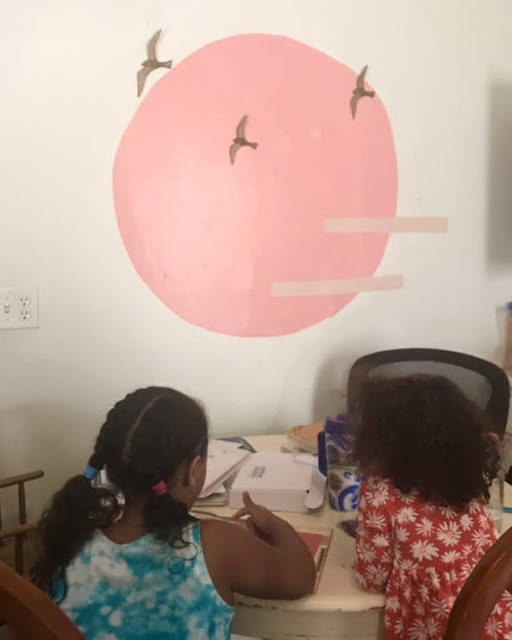
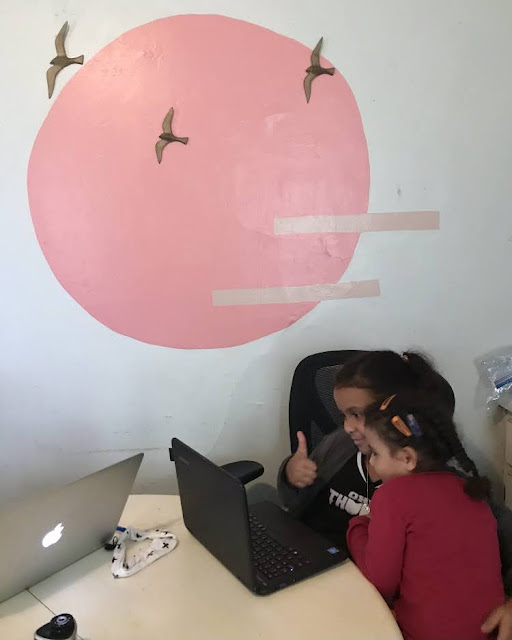
When I finished, it was pretty late and I started to stress that we picked too dark of a paint color... until the following day and all the natural light came in and realized it was actually the perfect color for this room. I hung up our cuckoo clock and set up the girls' coloring area.
Now that the walls are painted. I have turned my attention to the fireplace. It needs some work. It appears that it chipped a lot previously and the previous owners just painted a coat of white paint over it. I have scraped and patched all over the place. We're still bouncing around ideas for colors, but haven't landed on anything yet.
+
+
+ Paint and recover dining room chairs
+
+ Declutter
3.01.2019
Weaving For The Girls' Room
An ongoing goal for me over the last 6 months has been working on finding projects I can work on in teeny tiny increments (think 5-30 minutes). Back in October, I felt the urge to get back into weaving, so I got to work. Cora was hanging around when I started this piece, so she picked this pink color and asked if this could be for her room. I worked on this in 30 minute increments over a week or so, then finished it up in January. Because I was working on this mostly at nights and during the middle of winter, the picture quality is all over the place... but that is not my biggest priority. I always love seeing people's progress pictures, so here you go...
This is when I should have been finished according to my 'plan', but it just didn't feel right to me. I let this sit for a couple days before adding the black stripe on the top...then let it sit for a month or two before I decided it was for sure finished.
Since I finished this up during the middle of winter, I wasn't super excited to head out and look for a stick to hang this on. During a walk in January, I decided to keep an eye out and found the perfect stick in front of our friends' house. I cleaned off the stick, trimmed it down, and attached the weaving.
Cora loved the final piece and kept mentioning how much it looks like a dress. I found the perfect spot in my favorite little corner of the girls' room.
2.13.2019
Basement Stairwell : The Beginning
We have been super busy the last month or so with work, dealing with a frozen pipe/water leak (more on that another time), and just day-to-day stuff that comes with both of us working full time and having two kids. I'm trying to get back into blogging regularly and catching up on sharing some of the projects I've been working on over the last two months.
I have no true before pictures of this space, but believe me when I say it was pretty creepy. The walls were dark green/gray and splotchy and it was overall just dingy. This isn't a space that sees much traffic, so it is super low on the list of priorities.
There was a bunch of leftover paint in the pan whenever I was working on another space like painting the girls' room doors, priming the bathroom, or painting the dining room (more on the last two soon). As I was bringing the paint to rinse off in the utility sink (in the basement) I knew it was such a waste to just rinse it down the drain. I decided to take any extra paint in the pan and roll it on the walls in the stairwell. None of it matched and I didn't do a thorough job painting, but I was able to brighten up the space a bit with materials that most people would get rid of.
My main use for this space is to go in and out multiple times a day when I take the dog out. I was hanging all of the dog stuff (leashes, bags, etc) and my coats all on these two little peg hooks that came with the house. I knew I needed to make this space more functional, but had very little budget to do so.
I grabbed an extra shelf from Ben's studio space aka former walk-in closet (see before here), an old fishing basket I got from my Grandpa (for plastic bags), and purchased a dog hook from IKEA. It took less than 30 minutes to hang everything up and make this space sooo much more functional.
This space still isn't much to look at, but it works for me for now while I cross off other things on my home to-do list.
TO DO:
+ Patch the walls
+ Paint the dog hook white and brown like Clovey
+ Update lighting/electrical
+ Fix and paint the door
+ Install smart locks
+ Paint? Wallpaper?
+ Make cute curtains for the door
10.19.2018
Long Living Room Shelf
Ben bought a projector and needed a lowered spot to mount it. We decided to finally add some bookshelves to the living room. Due to the layout, there is really only one spot for us to put the projector and screen. We looked at a couple options and decided to run a shelf along the whole wall to make ample space for all our books. We settled on these IKEA brackets and boards (sorry, can't find the link). We spent the rest of the afternoon calculating, measuring, and installing.
Months later, we're still working on unloading the rest of our books, but I'll share an updated picture of the projector setup and books whenever we have everything up there.
Today marks two years since we closed on our house! See before pictures and a house tour that I'm working on continuously updating when I post about projects. We have loved making this place a home so far and we can't wait to see what else this home has in store for us.

7.10.2018
Painting Our Doors Black
These were some DIYs that we finished back in the Spring, but forgot to share. Back when I first got Pinterest, I swooned over pictures of black interior doors and knew that would be one of the first things I'd do when I owned a home. I started with the doors in the master bedroom which is most of the doors in our home (3 out of 7) then put the rest on the back burner while I worked on other projects. This Spring, I got a second wind and finished painting the rest of the doors. I leave the doors on the hinges, slide a drop cloth under the door, and paint away. It doesn't take long to do and I love how much can be changed by a painted door. I painted the outside of the girls door, the basement door, and the downstairs bathroom door. Cora couldn't stop commenting on how great it looks and I love that I can finally check the doors off my list.
Subscribe to:
Posts (Atom)